Bullhead City Home Plumbing Inspection Checklist for New Homeowners
A complete DIY plumbing inspection checklist for new and prospective homeowners in Bullhead City, AZ. Learn how to inspect water softeners, pipes, slab foundations, and water heaters.


Bullhead City Home Plumbing Inspection Checklist for New Homeowners
Moving into a new home in Bullhead City, Arizona, comes with exciting desert perks, but local plumbing systems face unique environmental stresses. Between extremely hard municipal water (~615 PPM / 36 GPG), scorching summer temperatures, and expansive desert soils, plumbing components can wear down quickly.
Whether you just closed on a house or are conducting a pre-purchase walkthrough, use this room-by-room DIY inspection checklist to catch hidden plumbing issues before they turn into costly repairs.
Phase 1: Water Softener & Treatment Infrastructure
Because raw tap water in Mohave County causes rapid scale buildup, a functioning water softener is the heart of any Bullhead City home's plumbing health.
-
Check System Status: Verify the softener is plugged in, powered on, and actively running (not permanently turned to the Bypass position).
-
Inspect the Brine Tank: Look inside the salt tank. Check for hardened salt bridges (a hollow crust of salt floating above water) or thick, dirty sludge at the bottom.
-
Inspect Aerators for Orange Beads: Unscrew faucet aerators around the house. If you see tiny orange, amber, or brown resin beads, the softener's internal basket has failed, dumping filtration resin directly into your water lines.
Phase 2: Water Heater Inspection
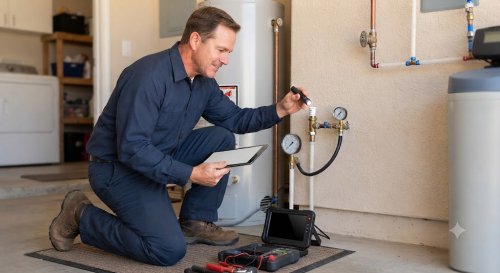
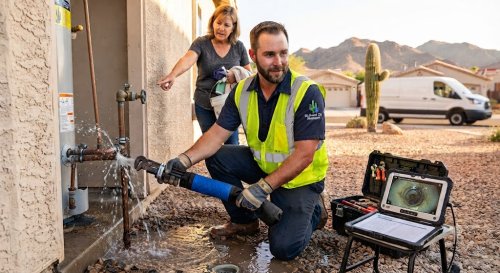
Untreated hard water precipitates heavy mineral sediment to the bottom of water heater tanks, significantly reducing efficiency and cutting lifespan in half.
-
Check the Manufacture Date: Locate the serial number label on the tank. Tank water heaters generally last 8–12 years; in Bullhead City, untreated units often fail in 5–7 years.
-
Listen During Operation: Have someone turn on a hot water tap while you stand near the water heater. Loud popping, rumbling, or kettling sounds indicate a thick layer of mineral scale boiling at the bottom of the tank.
-
Check for Rust and Corrosion: Inspect the base of the tank, the relief valve (T&P valve), and top cold/hot water connections for active rust or white crusty deposits.
Phase 3: Water Pressure & Slab Leak Checks
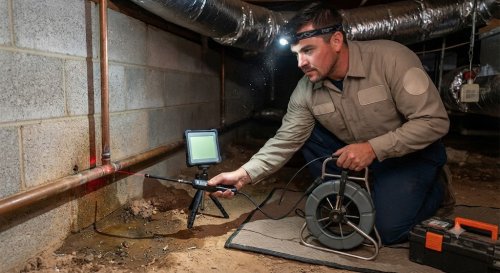
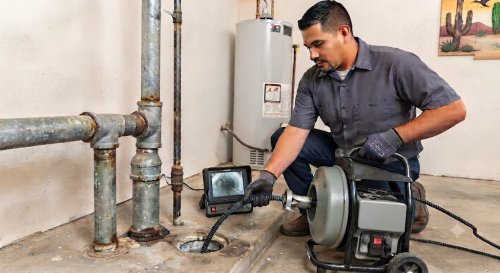
Many Bullhead City homes are built on concrete slab foundations with copper pipes buried beneath. High water pressure combined with soil friction can cause underground leaks.
Phase 4: Bathroom & Kitchen Fixtures
-
Toilet Dye Test: Place 5–10 drops of food coloring into each toilet tank. Wait 15 minutes without flushing. If colored water seeps into the bowl, the flapper valve is leaking and wasting hundreds of gallons monthly.
-
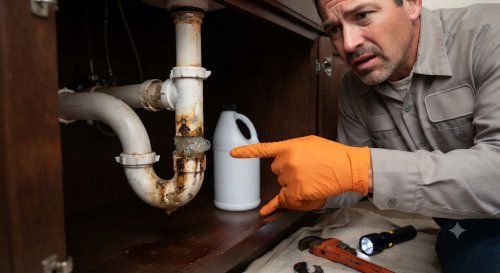
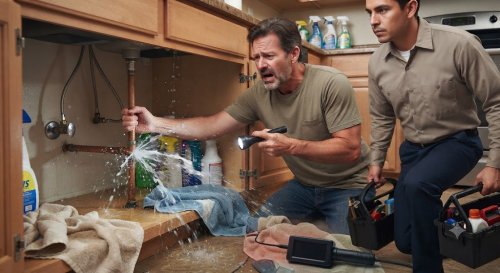
Under-Sink Cabinet Moisture: Open kitchen and bathroom vanity cabinets. Feel around supply lines, shutoff valves (angle stops), and P-trap drain joints for dampness, rust, or warped cabinet floorboards.
-
Drain Speed: Fill every sink and tub to the brim with water, then pull the plugs simultaneously. Watch for slow drainage, gurgling sounds, or water backing up into neighboring drains.
Summary Checklist for New Homeowners
| Area | Primary Inspection Target | Red Flag to Watch For |
| Water Softener | Brine tank and aerators | Unit bypassed or orange resin beads in aerators |
| Water Heater | Age label and heating noise | Rumbling noises during heating; age over 8 years |
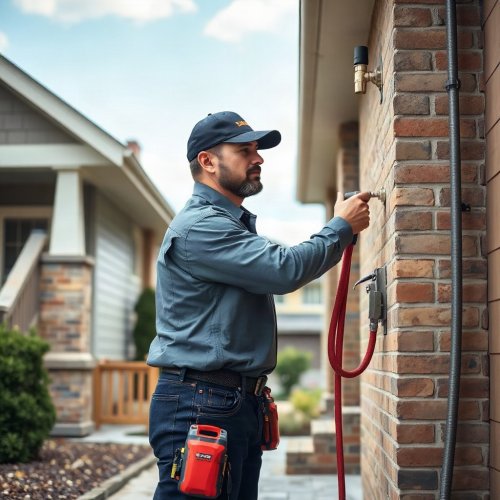
| Water Pressure | Hose spigot pressure gauge | PSI reading exceeding 80 PSI |
| Slab & Foundation | Floors and meter leak dial | Meter dial spinning; unexplained floor warm spots |
| Toilets & Fixtures | Tank flappers and shutoff valves | Tank dye leaking into bowl; corroded shutoff valves |
The Bottom Line: Running through this quick checklist will help you identify immediate maintenance needs, negotiate repairs with sellers, and protect your Bullhead City home from costly plumbing surprises.