Troubleshooting Low Water Pressure in Bullhead City Homes
Learn how to diagnose and troubleshoot low water pressure in your Bullhead City home. Discover whether the issue is isolated, caused by hard water scaling, or a main supply problem.


Understanding Low Water Pressure in Your Home
Dealing with a trickle instead of a steady stream from your shower or kitchen faucet is frustrating. When water pressure drops suddenly or declines gradually, homeowners often wonder where the fault lies. Is it a localized issue with a single fixture, a problem with the home's pressure regulator, or something happening with the municipal water supply along the Colorado River corridor?
In Bullhead City, where intense summer heat and mineral-rich local water supplies put unique stress on plumbing systems, water pressure issues require a methodical approach to diagnose. Pinpointing the exact cause helps you avoid unnecessary repairs and determines whether a simple cleaning will fix the problem or if a deeper plumbing intervention is required.
Step 1: Isolate the Problem (Fixture vs. Whole House)
The first and most critical diagnostic step is determining whether the low pressure affects only one outlet or every fixture in the house.
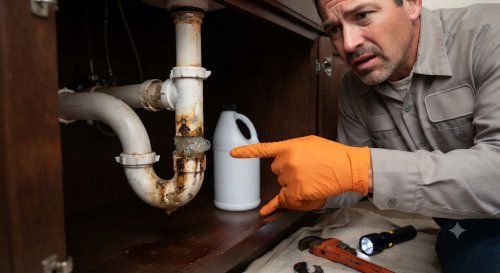
- Single-Fixture Issue: If only one sink, shower, or toilet fill valve has low pressure, the problem is almost always localized to that specific fixture. Common culprits include a partially closed supply stop valve under the sink, a clogged faucet aerator, or sediment buildup inside a showerhead.
- Whole-House Issue: If multiple faucets, showers, and outdoor hose bibs experience low pressure simultaneously, the restriction is happening upstream. This points toward the main water shutoff valve, the pressure-reducing valve (PRV), a hidden leak, or a municipal supply restriction.
Step 2: Check for Mineral Buildup and Hard Water Effects
Water drawn from local utility systems often carries high levels of dissolved minerals like calcium and magnesium. As water travels through your pipes and fixtures, these minerals precipitate out—especially when heated by your water heater—leaving behind a crusty white or yellowish deposit known as scale.
Faucet aerators and showerheads act as natural strainers, catching loosened scale and debris. Over time, this buildup chokes off the water flow. Before calling a professional or replacing hardware, unscrew the aerator tip from your faucet or detach the showerhead. Soak it in a mild descaling solution or white vinegar for an hour, brush away loosened debris, and rinse thoroughly. Often, this simple step restores full flow instantly.
Step 3: Inspect Your Main Shutoff and Pressure-Reducing Valve (PRV)
If the entire house has low pressure, check your main water supply valves.
- Main Shutoff Valve: Ensure that the main gate valve or ball valve—typically located where the water line enters the home or near the property boundary—is completely open. A valve that is even partially closed will severely restrict flow.
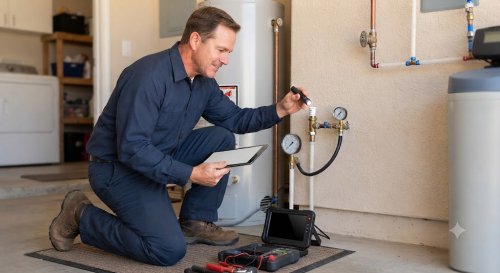
- Pressure-Reducing Valve (PRV): Most homes equipped with municipal water use a PRV to lower high incoming municipal pressure to a safe household level (usually between 50 and 70 PSI). When a PRV fails internally, the spring mechanism weakens or the diaphragm ruptures, causing water pressure to drop significantly. Testing a PRV requires attaching a water pressure gauge to an outdoor hose bib. If the gauge shows low pressure that does not change when adjusting the PRV adjustment bolt, the valve likely needs replacement.
Step 4: Recognizing Hidden Leaks and Pipe Restrictions
Sometimes low pressure is a symptom of a larger structural issue within your plumbing system.
In older homes built with galvanized steel piping, internal corrosion slowly narrows the inner diameter of the pipes, choking off water volume and pressure over time. While pressure may appear normal when no water is running (static pressure), it plummets the moment a fixture is opened because the restricted pipes cannot deliver enough volume.
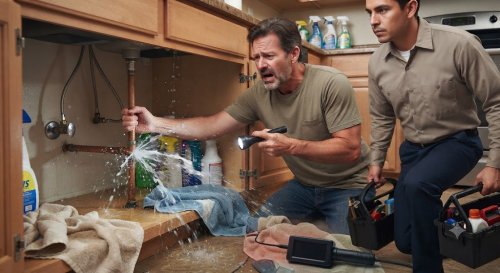
Alternatively, a sudden whole-house pressure drop accompanied by a spinning water meter when all fixtures are turned off can indicate a major underground or in-wall leak. Water escaping through a compromised supply line diverts volume away from your household fixtures.
When to Call a Professional
While clearing a clogged aerator or checking a main shutoff valve is well within reach for most homeowners, certain conditions require licensed expertise and specialized equipment:
- Failing or seized pressure-reducing valves that require cutting into main supply lines.
- Advanced pipe corrosion or galvanized-to-PEX/copper repiping projects.
- Suspected main service line leaks between the street meter and the house foundation.
- Inconsistent pressure swings that cannot be resolved through basic diagnostic steps.
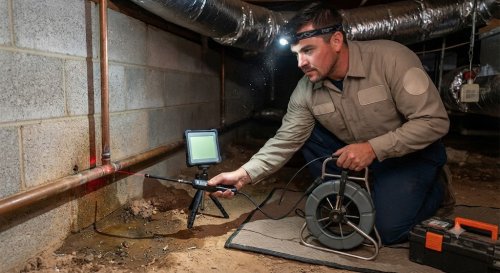
A professional plumber can perform a static and dynamic pressure test, inspect the condition of your supply lines, and determine whether a component replacement or targeted repair will safely restore balanced water flow throughout your property.